
Monday to Saturday - 9am - 5:30pm
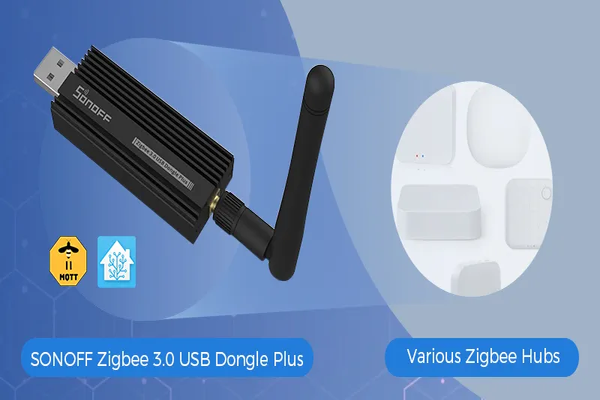
Getting Started with Zigbee Using the Zigbee 3.0 USB Dongle Plus (ZBDongle-E)
Posted by

Matthew
Introduction
Zigbee is one of the most popular and reliable wireless protocols for connecting smart devices in a home automation system. It operates on a low-power mesh network, allowing you to connect a large number of devices such as lights, sensors, plugs, and more. If you’re new to Zigbee and planning to use it with Home Assistant, this guide will walk you through setting up a Zigbee 3.0 USB Dongle Plus (ZBDongle-E) to start building your smart home.
This USB dongle offers excellent range and stability, making it an ideal choice for beginners and experienced users alike.
What You Will Need
- Zigbee 3.0 USB Dongle Plus (ZBDongle-E)
- Raspberry Pi 4 with Home Assistant already installed (or a similar device running Home Assistant)
- Home Assistant OS up and running
- USB Extension Cable (optional, but recommended to avoid interference)
- Zigbee Devices (e.g., smart bulbs, sensors, or plugs)
- A computer for initial setup
Step 1: Plugging in the Zigbee Dongle
- Plug in the ZBDongle-E into a USB port on your Raspberry Pi or server running Home Assistant. It’s best to use a USB extension cable to position the dongle away from the Raspberry Pi. This reduces radio interference from the Pi itself or other connected devices.
- Reboot your Raspberry Pi or server to ensure that the new USB dongle is properly recognized.
Step 2: Verifying USB Dongle Recognition
Before proceeding, it’s good to verify that the system recognizes the dongle:
- SSH into your Raspberry Pi (if you are familiar with it) and run the following command:bashCopy code
dmesg | grep ttyYou should see a line indicating a new USB device connected at/dev/ttyUSBxor/dev/ttyAMA0. Take note of this path; you’ll need it later when configuring Home Assistant.
Step 3: Installing the Zigbee Integration in Home Assistant
Choosing the Right Integration
Home Assistant offers several integrations to manage Zigbee devices, with Zigbee Home Automation (ZHA) and Zigbee2MQTT being the most popular. For simplicity, we will cover the setup using ZHA here, as it’s built directly into Home Assistant.
Setting Up ZHA Integration
- Open the Home Assistant user interface on your computer or mobile device.
- Go to Settings > Devices & Services and click on Add Integration.
- Search for and select Zigbee Home Automation (ZHA).
- You will be prompted to select the radio type. Choose “EZSP” (since the ZBDongle-E uses an EFR32 EmberZNet-based chipset).
- In the Device Path field, enter the path of your USB dongle, which could be something like
/dev/ttyUSB0or/dev/ttyAMA0. - Click Submit to finalize the configuration.
Home Assistant will now initialize the ZHA integration. Once complete, you can start adding Zigbee devices.
Step 4: Adding Zigbee Devices
Pairing Zigbee Devices
- In Home Assistant, go to Settings > Devices & Services > Zigbee Home Automation.
- Click Configure and then select Add Device.
- Follow the pairing instructions for your specific Zigbee device. Typically, this involves holding down a button or switching it on and off a few times to enter pairing mode.
- Wait for Home Assistant to find the new device. Once detected, it will be listed under the ZHA devices section.
Naming and Organizing Devices
Once paired, you can assign a name and location to each device in Home Assistant. This makes it easier to automate and control the devices based on their purpose and location.
Step 5: Setting Up Zigbee Network Map
A key benefit of Zigbee is its mesh network capability. To visualize and troubleshoot your Zigbee network, you can use a Zigbee Network Map add-on. Here’s how to install and use it:
- Go to Settings > Add-ons in Home Assistant and search for Zigbee Network Map in the add-on store.
- Install the add-on and start it.
- Open the add-on and click Open Web UI to see a graphical representation of your Zigbee network. This map shows how each device is connected, helping you identify signal strength issues or broken connections.
Step 6: Creating Automations with Zigbee Devices
Now that you’ve connected your Zigbee devices, you can create automations. For example, you might want to turn on a light when a motion sensor detects movement or set up an alert when a door sensor is triggered.
Creating an Automation
- Go to Settings > Automations & Scenes.
- Click Create Automation and choose Start with an Empty Automation.
- Add a Trigger based on your Zigbee device, such as a door opening or motion being detected.
- Define an Action like turning on a light or sending a notification.
- Save the automation and test it out.
For advanced users, you can manually write automation scripts in YAML format to have greater control over the behavior of your devices.
Step 7: Optimizing and Securing Your Zigbee Network
Signal Strength and Placement
Zigbee devices create a mesh network, which means that devices can act as repeaters to extend the signal range. Here are a few tips:
- Place the Zigbee Dongle Strategically: Make sure your Zigbee dongle is centrally located and not obstructed by large metallic objects.
- Use Powered Zigbee Devices: Devices like smart plugs often act as repeaters, strengthening the mesh network.
- Keep Zigbee Devices Close During Initial Pairing: Zigbee devices are easier to pair when they are close to the coordinator (the dongle). You can move them to their final location after pairing.
Enhancing Security
Zigbee communication is encrypted, but there are still steps you can take to secure your network:
- Use Strong Home Assistant Credentials: Protect your Home Assistant account with a strong password and enable two-factor authentication.
- Secure Your Zigbee Devices: Make sure firmware is up to date to address any known vulnerabilities in your Zigbee devices.
Step 8: Advanced Setup with Zigbee2MQTT (Optional)
If you want more flexibility and advanced features, consider using Zigbee2MQTT instead of ZHA. This requires setting up MQTT on your Home Assistant instance. Here’s a quick overview:
- Install the Mosquitto MQTT broker from the add-on store in Home Assistant.
- Install the Zigbee2MQTT add-on and configure it with your Zigbee dongle’s device path (
/dev/ttyUSB0or similar). - Pair devices using Zigbee2MQTT’s web interface.
Zigbee2MQTT offers more granular control over devices and is popular among advanced users.
Step 9: Backing Up and Maintaining Your Setup
Creating Backups
As you add more devices and automations, it’s essential to create regular backups. Go to Settings > System > Backups and click Create Backup. This ensures that your Zigbee setup and configurations are safe.
Regular Maintenance
- Check for Firmware Updates: Keep an eye on firmware updates for your Zigbee devices and dongle to improve performance and security.
- Review Network Stability: Periodically review your Zigbee network map to identify and address any weak connections.
Conclusion
Getting started with Zigbee using the Zigbee 3.0 USB Dongle Plus (ZBDongle-E) is a great way to begin automating your home. With Home Assistant as your central hub, you can easily add and control a wide range of Zigbee devices. By following the steps in this guide, you’ll be able to set up, expand, and maintain your Zigbee network with ease.
Zigbee provides a robust and scalable solution for home automation, and with the right setup, you can build a highly responsive and secure smart home. Whether you’re automating lighting, monitoring your home’s security, or just experimenting with new devices, Zigbee and Home Assistant give you the flexibility and power to do it all.
Share:
Share:
Related Posts
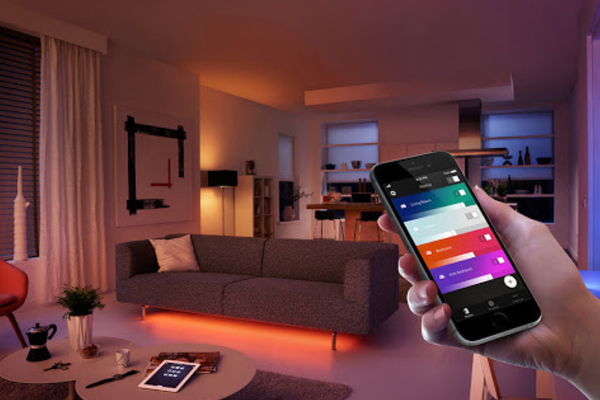
Creating a Smart Lighting System with Home Assistant and Zigbee Devices
Transforming your home lighting with smart devices can enhance convenience, energy efficiency, and ambiance. This guide walks you through setting up a smart lighting system using Home Assistant and Zigbee-enabled devices. From pairing smart bulbs and switches to creating motion-activated automations and customized lighting scenes, you’ll learn how to build...
Continue Reading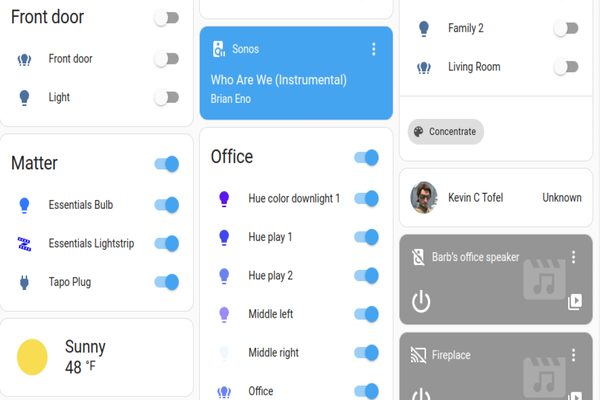
Getting Started with Home Assistant on a Raspberry Pi 4
Home Assistant is a powerful open-source platform that allows you to control and automate various smart devices within your home. This guide walks you through setting up Home Assistant on a Raspberry Pi 4, making it an affordable and flexible hub for managing smart devices. You’ll learn how to install...
Continue Reading