
Monday to Saturday - 9am - 5:30pm
Getting Started with Home Assistant on a Raspberry Pi 4
Posted by

Matthew
Introduction
Home automation has become increasingly popular as more people look to improve the efficiency, convenience, and safety of their homes. One of the most versatile and powerful open-source platforms for home automation is Home Assistant. It allows users to control and automate a wide range of devices using a unified interface. In this guide, we will explore how to set up Home Assistant on a Raspberry Pi 4, which is an ideal device for beginners due to its affordability and flexibility.
What You Will Need
To get started with Home Assistant on a Raspberry Pi 4, you'll need the following:
- Raspberry Pi 4 (any model with at least 2 GB of RAM, but 4 GB is recommended for better performance)
- microSD Card (16 GB or larger, Class 10 or better is recommended)
- Power Supply (5V/3A USB-C power supply for Raspberry Pi 4)
- Ethernet Cable or a stable Wi-Fi connection
- Computer with an SD card reader
- External SSD (optional, but recommended for better performance and SD card longevity)
Step 1: Preparing the microSD Card
Downloading Home Assistant OS
The first step is to download the Home Assistant Operating System (OS) image:
- Go to the official Home Assistant website and select the correct Raspberry Pi 4 image. You can choose between 32-bit and 64-bit images. The 64-bit version is recommended if you have a Raspberry Pi with 4 GB or more of RAM.
- Download the .img.xz file, which contains the Home Assistant OS image.
Flashing the Image to the microSD Card
To flash the downloaded image to your microSD card, follow these steps:
- Download and install a disk-flashing tool like Balena Etcher (available on balena.io/etcher).
- Insert the microSD card into your computer.
- Open Balena Etcher and select the downloaded Home Assistant OS image file.
- Choose your microSD card as the target device.
- Click "Flash" to write the image to your microSD card. This process may take a few minutes.
Step 2: Booting Up the Raspberry Pi
- Once the flashing process is complete, remove the microSD card from your computer and insert it into your Raspberry Pi 4.
- Connect your Raspberry Pi to the power supply and, if using an Ethernet connection, plug in the Ethernet cable.
- Power on your Raspberry Pi.
It will take a few minutes for the initial setup of Home Assistant OS. The Raspberry Pi will automatically boot up and begin setting up Home Assistant.
Step 3: Accessing the Home Assistant Interface
Connecting to Home Assistant
- Once the Raspberry Pi has finished booting, open a web browser on your computer and navigate to
http://homeassistant.local:8123. If this address doesn't work, you can try finding the IP address of your Raspberry Pi using your router’s admin panel or a network scanning tool like Fing. - You should see a page indicating that Home Assistant is setting up. This may take around 20 minutes, so be patient.
Creating a User Account
Once the setup is complete, you will be prompted to create an account. Follow the steps below:
- Enter your name, username, and password to create the administrator account.
- Set your location, time zone, and other preferences.
- Click Finish to complete the setup.
Step 4: Configuring Network and Device Access
Connecting to Wi-Fi (if not using Ethernet)
If you didn't connect via Ethernet, you can connect your Raspberry Pi to Wi-Fi by following these steps:
- On the left sidebar, click Settings > System > Network.
- Locate the Wi-Fi section and click Configure.
- Enter your Wi-Fi SSID and password, and then click Save.
Updating Home Assistant
It's a good idea to update Home Assistant to the latest version after the initial setup. Here's how:
- In the Home Assistant interface, go to Settings > System > Updates.
- If an update is available, click Update to install it. This may take a few minutes, depending on the size of the update.
Step 5: Adding Devices to Home Assistant
Auto-Discovery of Devices
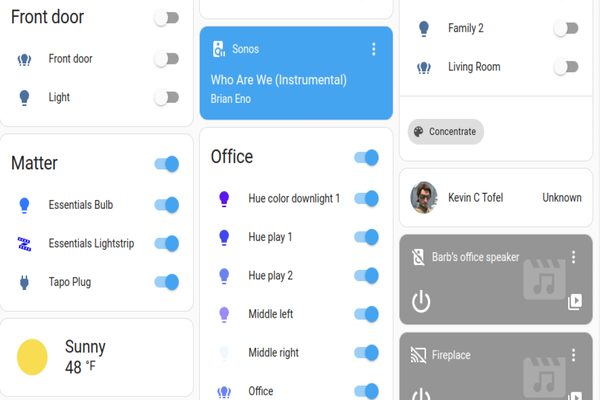
Home Assistant is capable of automatically discovering many devices on your network, such as smart plugs, lights, and media players. To see which devices have been discovered:
- Go to Settings > Devices & Services in the Home Assistant interface.
- Under the "Integrations" section, you'll see any devices that Home Assistant has detected. You can click Configure to finish setting up these devices.
Manual Configuration of Devices
For devices that are not automatically detected, you can manually configure them using YAML configuration. For example, to add a Philips Hue Bridge, you would:
- Go to Settings > Devices & Services and click Add Integration.
- Search for "Philips Hue" and follow the prompts to link the bridge to Home Assistant.
If the integration you need isn't listed, it’s possible to manually define the devices using a configuration.yaml file. This file is the heart of Home Assistant and is located at /config/configuration.yaml.
Here’s an example of manually adding a light:
yamlCopy codelight:
  - platform: mqtt
    name: "Living Room Lamp"
    state_topic: "home/livingroom/lamp/state"
    command_topic: "home/livingroom/lamp/set"
Step 6: Automating Your Home
One of the most powerful features of Home Assistant is its automation capabilities. Automations allow you to set up specific actions to be triggered when certain conditions are met. You can create automations using either the visual editor or YAML.
Creating Automations Using the Visual Editor
To create an automation using the visual editor:
- Go to Settings > Automations & Scenes.
- Click Create Automation.
- Define a trigger (such as a specific time or a device state change).
- Add conditions if necessary (e.g., only run the automation if you're at home).
- Define an action (such as turning on a light or sending a notification).
Creating Automations Using YAML
If you prefer working directly in YAML, you can define automations in the automations.yaml file like this:
yamlCopy codeautomation:
  - alias: "Turn on lights when motion detected"
    trigger:
      platform: state
      entity_id: binary_sensor.motion_sensor
      to: "on"
    action:
      service: light.turn_on
      target:
        entity_id: light.living_room
Step 7: Exploring Add-ons
Installing Add-ons
Home Assistant offers a range of add-ons that extend its functionality, such as File Editor, Samba Share, and Mosquitto MQTT Broker. To install an add-on:
- Go to Settings > Add-ons > Add-on Store.
- Browse through the available add-ons and click on one to view details.
- Click Install to add it to your Home Assistant setup.
Recommended Add-ons
Some of the most popular add-ons include:
- File Editor: Allows you to easily edit YAML configuration files directly from the Home Assistant interface.
- Samba Share: Enables network sharing of your Home Assistant files, so you can access them from other devices on your network.
- Mosquitto MQTT Broker: Adds support for MQTT, which is a common protocol for smart home devices.
Step 8: Securing Home Assistant
Setting Up HTTPS
To secure your Home Assistant instance, it's advisable to set up HTTPS with a Let’s Encrypt SSL certificate. You can achieve this using the DuckDNS add-on, which provides a dynamic DNS and SSL solution:
- Install the DuckDNS add-on from the Add-on Store.
- Register a domain name at DuckDNS.org.
- Configure the DuckDNS add-on with your domain and token.
- Set up SSL certificates by enabling the SSL option within the add-on.
Enabling Two-Factor Authentication
For added security, consider enabling Two-Factor Authentication (2FA):
- Go to Settings > Users.
- Select your user and enable Two-Factor Authentication.
- Follow the prompts to link an authentication app (such as Google Authenticator).
Step 9: Backing Up and Maintaining Your Setup
Creating Backups
Regular backups are essential to ensure that your Home Assistant configuration is safe. You can create a backup by going to Settings > System > Backups and clicking Create Backup.
Regular Maintenance
Perform regular updates of Home Assistant and its add-ons to keep your setup secure and compatible with new devices. You can find updates under Settings > System > Updates.
Conclusion
Setting up Home Assistant on a Raspberry Pi 4 is a great way to get started with home automation. With its powerful automation features, integrations, and add-ons, Home Assistant can help you create a
Share:
Share:
Related Posts
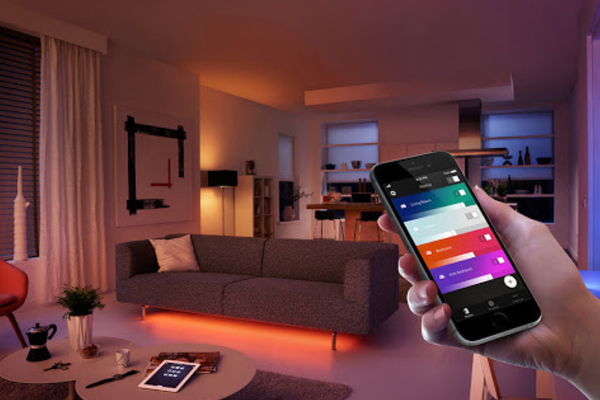
Creating a Smart Lighting System with Home Assistant and Zigbee Devices
Transforming your home lighting with smart devices can enhance convenience, energy efficiency, and ambiance. This guide walks you through setting up a smart lighting system using Home Assistant and Zigbee-enabled devices. From pairing smart bulbs and switches to creating motion-activated automations and customized lighting scenes, you’ll learn how to build...
Continue Reading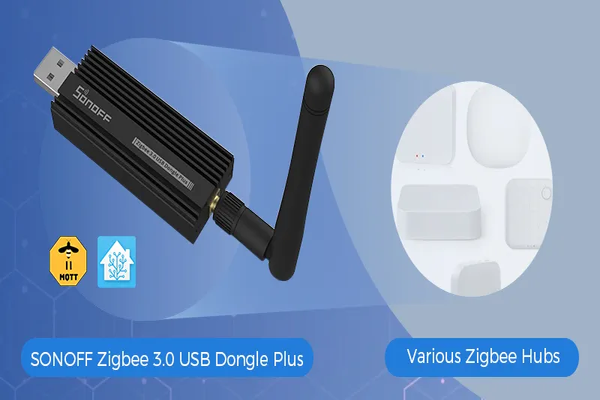
Getting Started with Zigbee Using the Zigbee 3.0 USB Dongle Plus (ZBDongle-E)
Zigbee is a reliable, low-power wireless protocol ideal for building a smart home network. This guide explains how to set up the Zigbee 3.0 USB Dongle Plus (ZBDongle-E) with Home Assistant to control a range of smart devices. You’ll discover how to connect the dongle, pair devices using the built-in...
Continue Reading